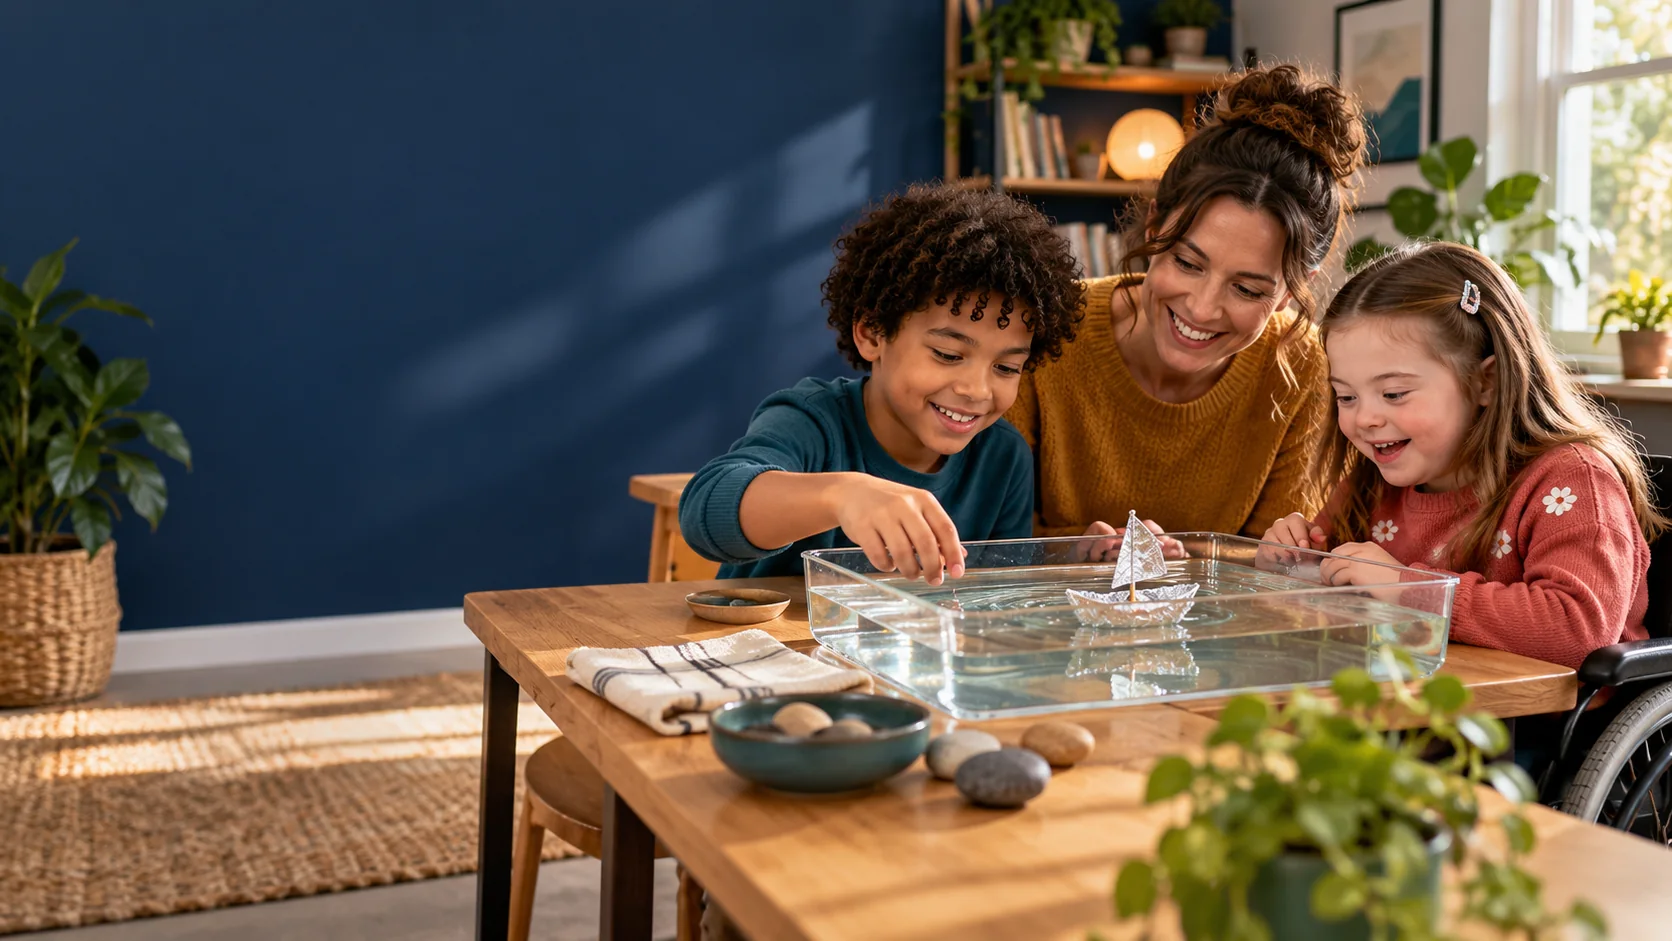
A small tray of water can open up a big question
“Will it sink or float?” looks like a simple question. Put a wooden block and a metal spoon beside a shallow tray, though, and children can quickly begin asking better ones. Does the biggest object always go down? Does turning something over change what happens? Can an object stay up for a while and then sink?
I’d use a shallow tray and a few objects children can handle safely. Let them put their guess beside the object, say it aloud or point to a picture. Then give them time to compare it with what happened in the water.
This sink-or-float activity is designed for families and primary settings, particularly children around ages five to nine. Adapt the language, equipment and challenge to the learners present. The suggested sequence is an original classroom and home activity, not a claim that one lesson will meet every child’s needs.
What children can investigate
Start with one question: which of these objects will float in this water? Keep the first investigation small enough that children can remember what they predicted and notice what actually happened. Four objects can offer more useful discussion than a large pile tested in a rush.
There is a curriculum connection, without needing to turn a kitchen table into a formal lesson. In England, the key stage 1 science programme includes asking questions, making close observations, carrying out simple tests and recording information. It also includes exploring everyday materials. Those expectations apply to England; the practical activity can be adapted elsewhere in the UK. Read the Department for Education’s science programme.
The learning opportunity is not getting every prediction right. It is making an initial suggestion, checking it and using the result to think again. A surprising result is something to investigate, not a mistake that needs to be hidden.
Gather a few useful materials
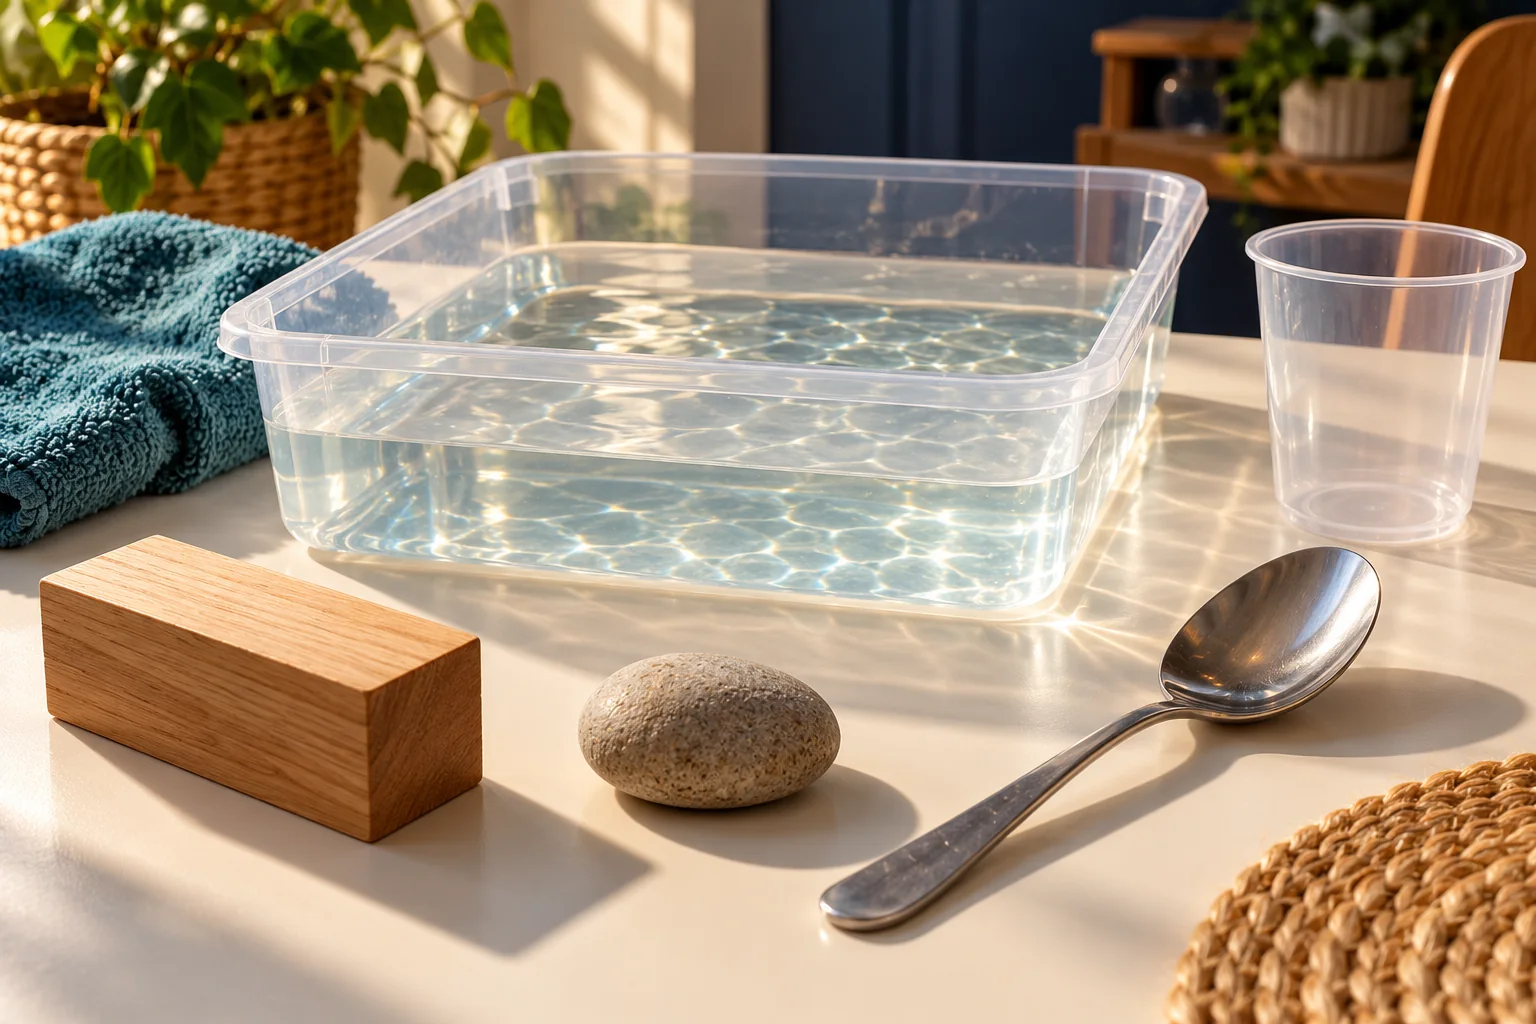
Use a stable, shallow plastic tray or bowl, a small amount of room-temperature water, a towel and a dry place for results. A transparent container helps children see objects below the surface. Check that the water is deep enough for the chosen objects to float freely without touching the bottom, while keeping the container shallow and manageable.
Choose four clean objects that can safely get wet. A large metal spoon, a smooth stone, a plain wooden block and a sturdy empty plastic cup give several possibilities to discuss. Check the particular objects yourself: materials, hollow spaces and coatings vary, so an object’s name does not guarantee its result. Avoid glass, sharp items, batteries, electrical equipment and objects too small for the children present.
Keep an adult supervising throughout, including setting up and emptying the tray. Keep water away from electrical devices, wipe spills promptly and empty the container after the activity. Choose a workspace and materials appropriate to the group, including any mouthing or swallowing risks. Children should not drink the experiment water.
At school, organise small groups with a reachable tray rather than a crowd around one container. At home, put a towel under the tray and have somewhere ready for wet objects. Preparing the space makes it easier to concentrate on the question.
Step 1: predict without turning it into a quiz
Show the objects before putting them in the water. Ask, “What do you think this one will do?” A child can speak, point to a picture, use a communication aid, sign or place a photograph beside their prediction. Offer a way to say “not sure” as well.
If the words are unfamiliar, demonstrate floating and sinking with two different objects before asking children to predict the investigation items. Use clear descriptions: floating stays supported at the surface; sinking moves down through the water. An object resting on the bottom of a shallow tray has not floated simply because part of it sticks above the water.
Invite a reason, but do not require a full sentence before a child can join. “It feels heavy,” “it is like my bath toy,” or a gesture towards a hollow space gives you something to explore. Record the suggestion without announcing that it is correct or incorrect.
Avoid asking so many questions that children lose the chance to watch. One prediction followed by one test is enough to begin. You can return to a child’s explanation after there is something concrete to compare it with.
Step 2: test gently and watch what happens
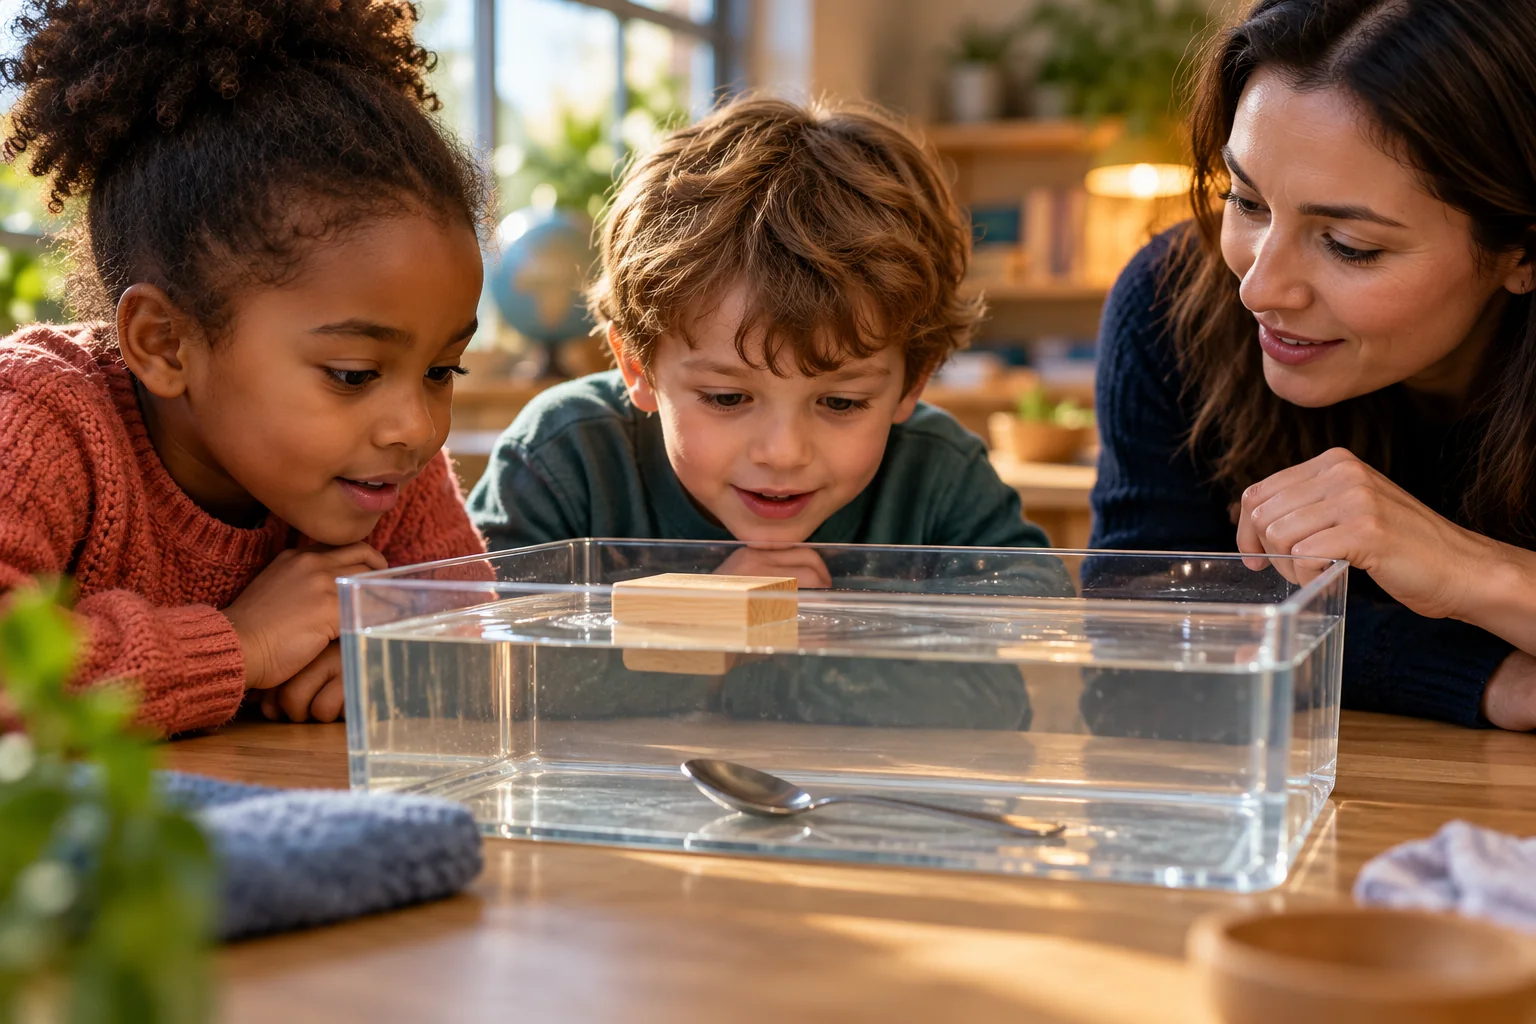
Place one object gently at the water surface and release it. Do not throw it in or hold it underwater and call that a result. Let the water settle, then look together. Is the object at the surface, below it or on the bottom? Did it turn over or begin filling with water?
For the first round, keep the setup consistent: the same container, water and gentle placement. Remove each object before testing the next so the tray does not become crowded. This is a simple comparison of different objects; it does not isolate a single property such as material or mass.
Some objects give a less tidy answer than a worksheet suggests. A cup may float one way up and fill with water another way. An absorbent item may change after it has been wet for a while. Describe what happened and when. “It floated at first, then water went inside” is a useful observation.
If children disagree, repeat the test in a way everyone can see. Invite them to describe the evidence rather than vote on which answer wins. This is a good moment for an adult to model changing their mind: “I expected something different. Let’s look again.”
Step 3: record the result in a usable way
Recording does not have to mean writing a paragraph. Try photographs of the objects, a quick sketch, an adult scribing the child’s words or a short voice recording made safely away from the water. Keep the prediction and observation distinguishable so children can compare the two.
Here is a simple record you can copy onto paper or adapt with pictures:
| Object | My prediction | What happened in our test? |
|---|---|---|
| Wooden block | Float / sink / not sure | Record your observation |
| Metal spoon | Float / sink / not sure | Record your observation |
| Smooth stone | Float / sink / not sure | Record your observation |
| Empty plastic cup | Float / sink / not sure | Include which way up it was |
Leave room for an unexpected answer. If a result changes, add that information instead of forcing the object into one permanent category. For a younger child, two photographs and a spoken comparison may be plenty. For an older pupil, note the object’s material, shape and whether it contains an air space.
The adult’s job is to preserve the child’s observation accurately. Do not silently replace “it went sideways and filled up” with a neater explanation the child did not give. That description may be the most interesting part of the investigation.
Explain the science without teaching a shortcut that fails
It is tempting to say that heavy objects sink and light objects float. That rule does not explain a large ship. Weight matters, but it must be considered alongside the upward force exerted by the water.
The science: water pushes upward on an immersed object. This buoyant force is equal to the weight of the water displaced by the object. When an object floats at rest, that upward force balances its weight. Shape and enclosed air can affect how much water an object displaces for its overall weight. The Exploratorium explains the buoyant force.
For an introductory lesson, it is enough to say, “The water pushes up as well as the object’s weight pulling down.” Do not promise that all metal objects sink or all plastic objects float. Look at the whole object, including any hollow spaces, rather than only the material it is made from.
Our teaching suggestion: begin with the observations the child can see, then offer a short explanation. There is no need to rush into calculations or ask children to memorise a definition before they have explored the tray. Keep the language accurate while allowing the explanation to grow with their questions.
Extend the question: can changing a shape change the result?
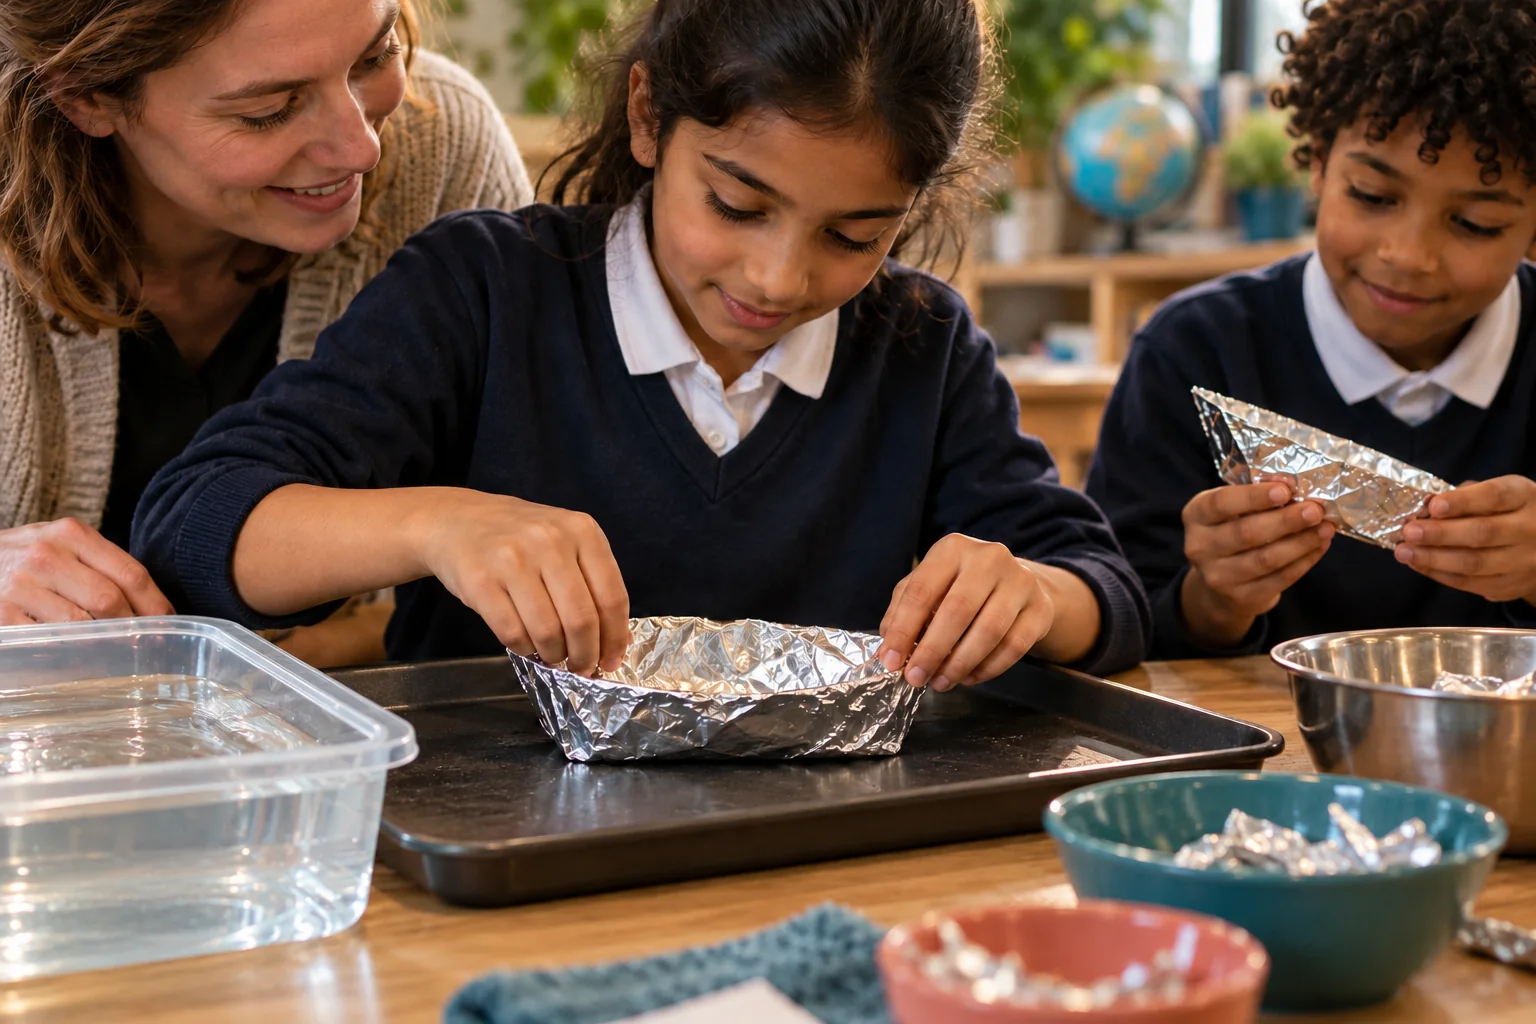
For children ready for another challenge, offer a piece of kitchen foil with any sharp edges folded safely inward. An adult should help prepare it. Explore a tightly crumpled shape and then reshape the same piece into a broad, shallow boat. Try not to tear the foil or lose pieces between tests.
Predict and test both shapes. Do not guarantee that the crumpled foil will sink: trapped air and the way it is placed can affect what you see. If both shapes float, that is the result to record. Consider how much air remains inside and what you could investigate next, rather than forcing the demonstration to match an expected ending.
Keep water out of the boat when placing it in the tray. For a further design challenge, older pupils can compare boats made from equal-sized pieces of the same foil. Add identical, age-appropriate loads one at a time, with adult supervision, and agree what counts as the end of the test. Stop if water spills over a boat’s edge or it sinks.
Record what changed and what stayed the same. A boat that capsizes has given information about its design; it has not failed to be science. The Royal Institution’s family resource on density offers related exploration of objects, shapes and floating. Its full activity is different from this plain-water investigation and should be followed with its own instructions if used.
Make the activity accessible before asking for more effort
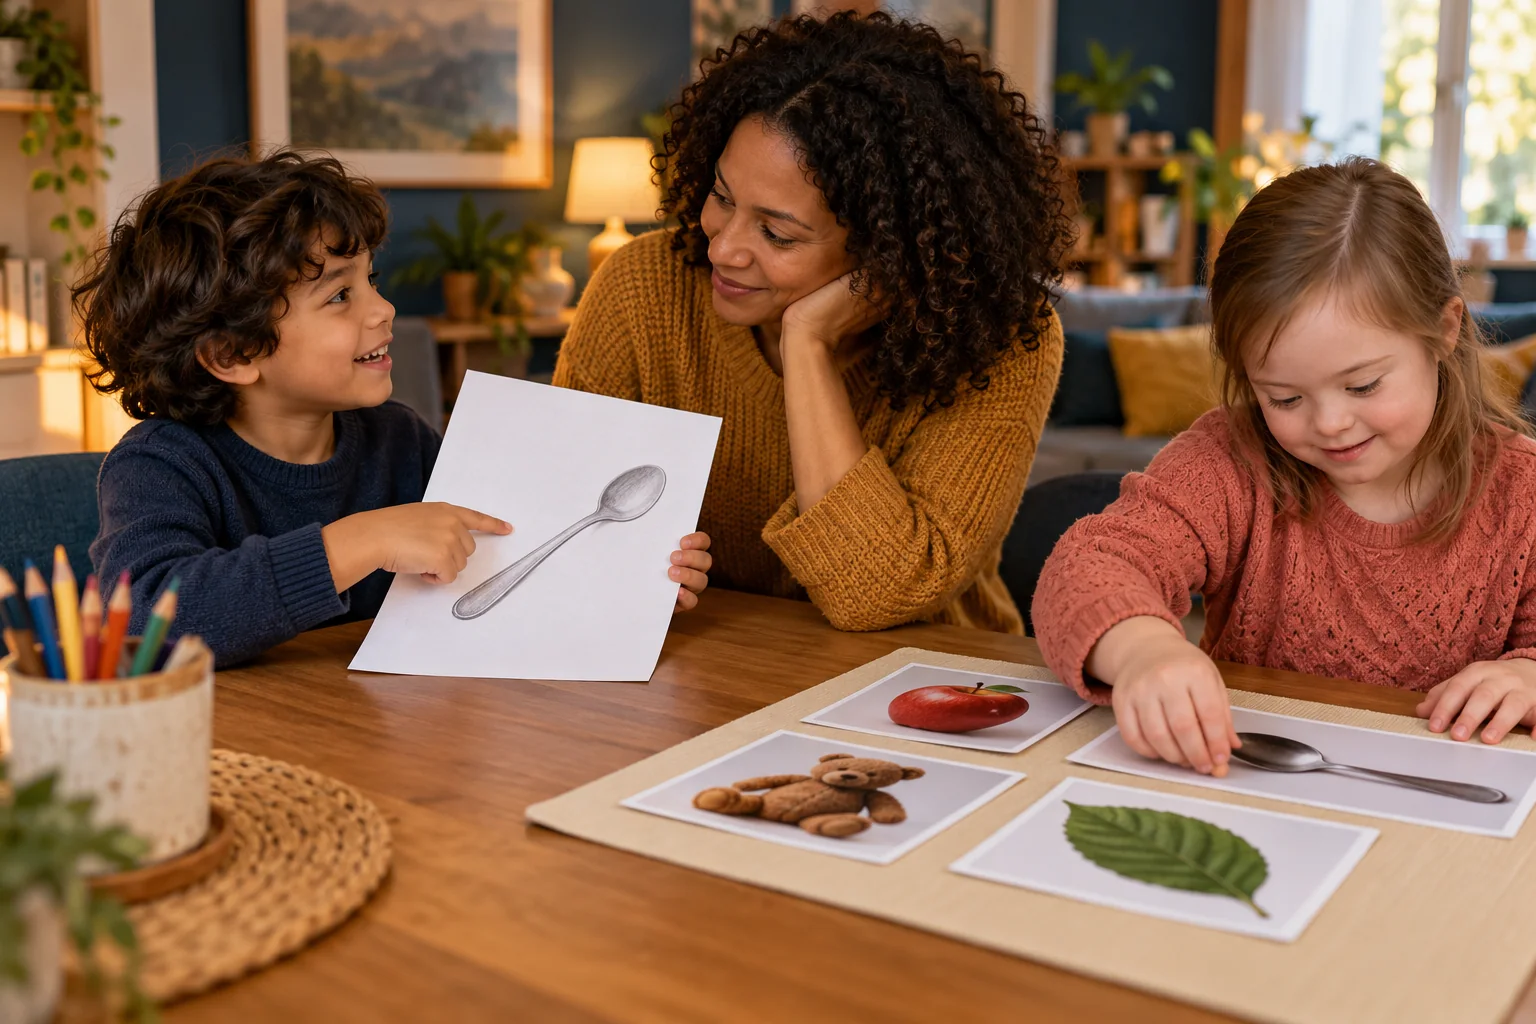
Offer useful roles that retain a real decision. One child might choose the next object, another place it in the tray and another record the result. A child directing an adult’s hands can still decide what is tested and what to notice. Rotate roles where welcome, rather than assuming everyone must handle wet materials.
Keep a dry observation position available for anyone who dislikes splashes or wet textures. Bring objects and photographs within reach, use a stable working height and leave space for mobility equipment. Check the child’s preferred position rather than assuming that moving closer is always more comfortable.
Use familiar communication supports throughout, including ways to say “again”, “stop”, “different” or “I don’t know”. Allow time to respond. A child’s use of a communication aid, gesture or brief answer should not reduce the scientific interest of the question they are offered.
If the sequence becomes hard to follow, show one step at a time: choose, predict, test, record. Reduce the number of objects or return to a one-to-one version. These are practical access suggestions to adapt with the family and setting; they are not a substitute for any individual support already in place.
Finish with one question worth returning to
Ask children to choose the result that surprised them most. Then agree one follow-up question: would another cup behave the same way, what happens if a boat fills with water, or does the shape stay stable when its load moves? Keep different questions separate so the next investigation has a clear purpose.
For a classroom record, a photograph and a child’s explanation can show more thinking than a fully completed sheet copied from the adult. At home, a short conversation while drying the objects may be enough. You can return to the question another day without turning every shared activity into formal assessment.
For further invitations to explore, browse Hewston Higgins learning resources, free samples and books and learning worlds. Settings using resources regularly can compare current membership options and check the access terms. No purchase is needed for the investigation described here.
The most useful outcome is not a tray divided into the right answers. It is a child noticing something, having a way to communicate it and discovering that an unexpected result can lead to another question.
Sources and scope
- Department for Education: National curriculum in England — science programmes of study, updated 6 May 2015; applies to England.
- Exploratorium: Buoyancy, explanation of the upward buoyant force and displaced liquid.
- Royal Institution: Homemade lava lamp, a related family resource exploring density, shapes and floating; not the instructions for this activity.
Sources checked 28 October 2026. The lesson sequence and access adaptations are original editorial suggestions. Illustrations are AI-created images of imagined scenes, not experimental evidence or exact equipment diagrams.