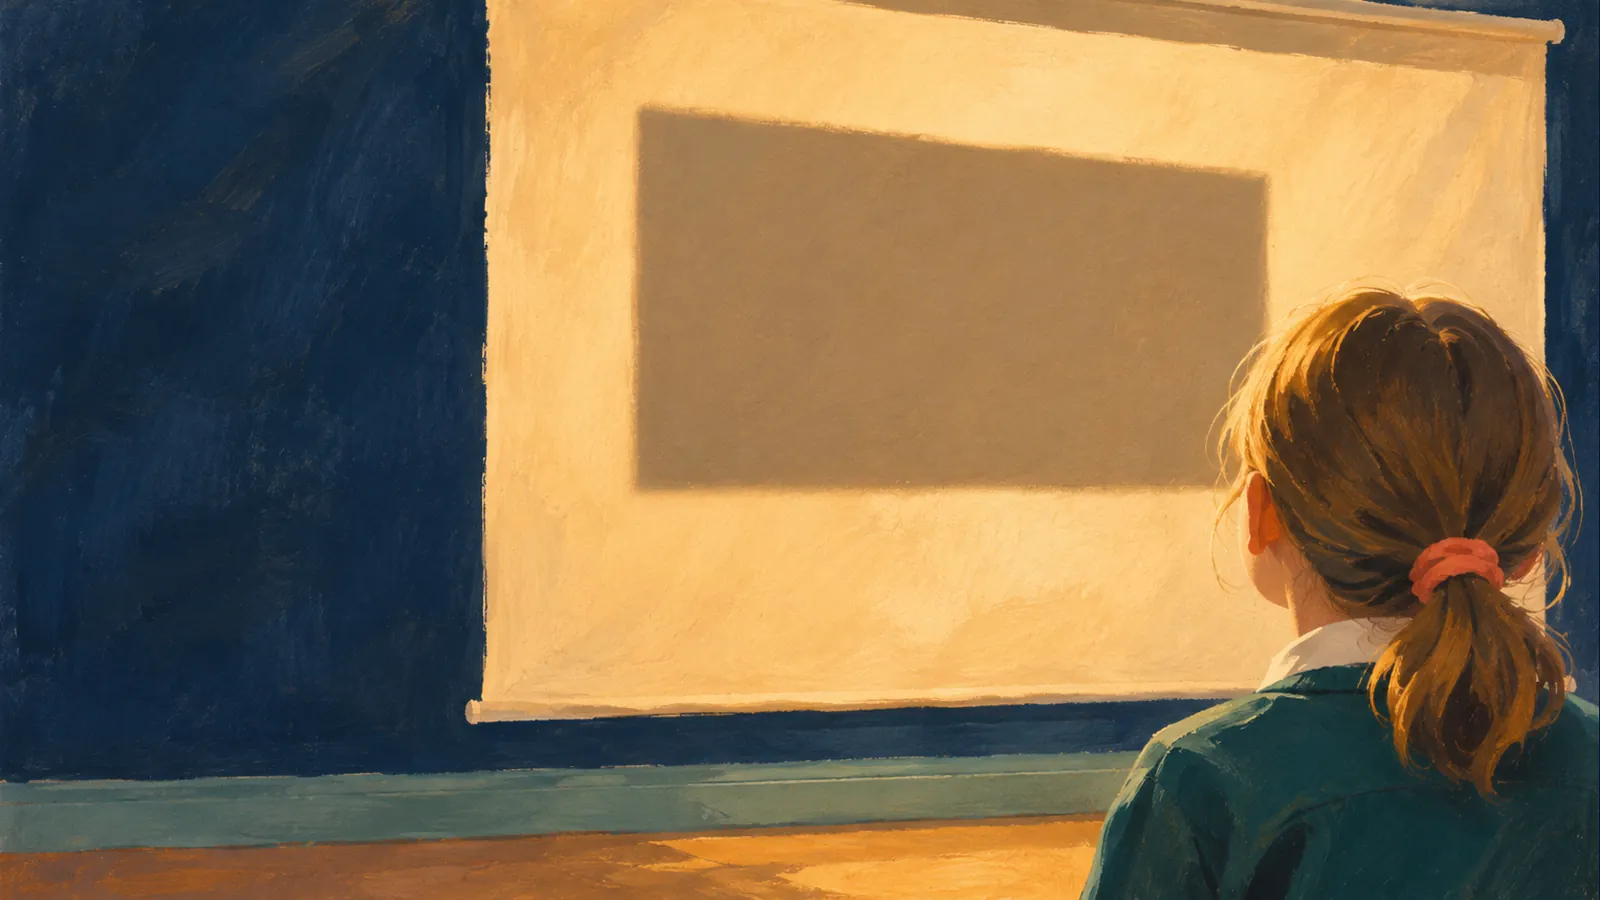
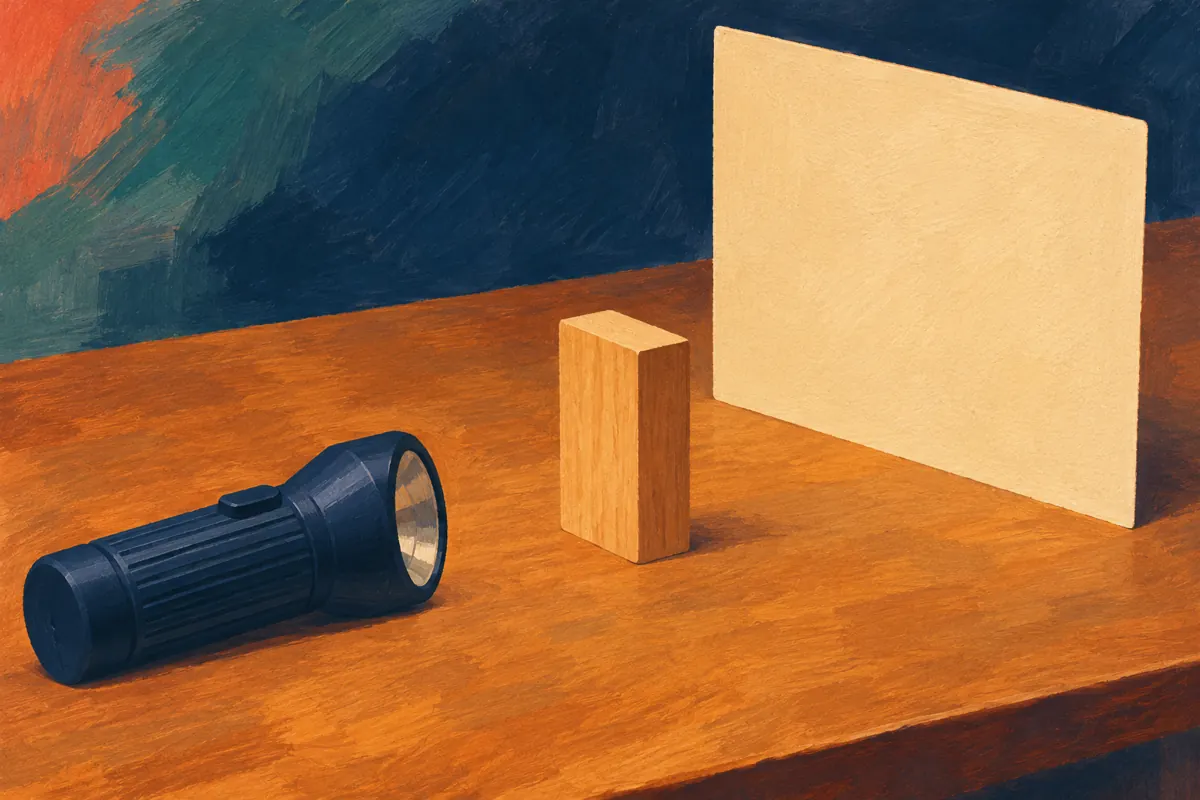
Set a wooden block between a torch and a piece of white card. Switch on the torch and you get a shadow. Now slide the block towards the torch. The shadow can get bigger even though the block hasn’t changed size. That’s a good moment to stop and ask: what moved, and what stayed the same?
This Year 3 light and shadows investigation takes about 20 minutes at home or in a small group. It works as a quick comparison with two positions or as a longer fair test with three. Children can help decide what to try and compare the results by pointing, speaking, arranging paper strips or recording measurements. They can show you what they’ve worked out without having to fill a page.
The Department for Education’s science programmes of study for England include how shadows form and how their size changes in Year 3. The publication page dates from 11 September 2013 and was last updated on 6 May 2015. This is an original activity for practising those ideas, with options for different ways of taking part.
1. Set up a tabletop shadow experiment
You need a small, steady-beam torch, a simple solid object such as a wooden building block, a sheet of white or cream card, and some masking tape. For recording, offer paper strips and a pen or use a ruler if the child wants to practise measuring in centimetres. A wall with a clean sheet of paper taped to it works as a screen, too.
- Stand the screen upright. Rest the torch on the table about 60 cm away, pointing straight at the screen. Keep the torch steady so it won’t roll. Aim at the screen and keep the beam away from faces.
- Stand the block between the torch and screen. Check that the beam lights up the screen around the shadow and that you can see the whole outline. Leave enough room light for everyone to see the table and move comfortably.
- Put two or three pieces of tape in a straight line between the torch and screen as stopping points. Start with the block about 25 cm from the torch; try about 35 cm and 45 cm as your other stops. These distances are starting points. Change them if your torch cuts off part of the shadow.
Show the set-up with the torch off before you begin. Give the child time to handle the block and find the tape marks if they want to. You can keep the equipment fixed and let them direct where the block goes, which is useful if moving it accurately, getting close to the table or handling a bright light would get in the way.
2. Ask for a prediction before you move the block
Keep the question concrete: “If we move the block to this mark, will its shadow get wider, get narrower or stay the same?” Point to the actual stopping point as you ask. You could offer the same choices aloud, show a wide and a narrow outline beside each other, or let the child draw what they think they’ll see. “I’m not sure yet” is a useful answer, too. You can find out together.
Sometimes near and far are the confusing words. A block that’s near the torch is also farther from the screen in this set-up. Use “near the torch” and “near the screen” each time. If you’re modelling directional language, trace the route along the table with your finger while you say it. Let the child try moving the block between the marks once with the torch off.
At home, give the child a job they can keep: choosing which position to test, calling “ready” or holding the finished paper strips side by side. In a group, split the jobs between moving the block, looking at the shadow and recording what happened. Let pupils swap roles if they want to. If a pupil asks someone else to move the block to their chosen spot, that pupil is still making a decision about the experiment.
3. Move one thing and compare the shadow widths
For this fair test, change only the block’s position. Keep the torch in the same place, pointing in the same direction. Leave the screen where it is and keep the block upright with the same face towards the torch. Move it along the taped line. Turning the block or lifting it as you go can change the shape and make your comparisons harder to explain.
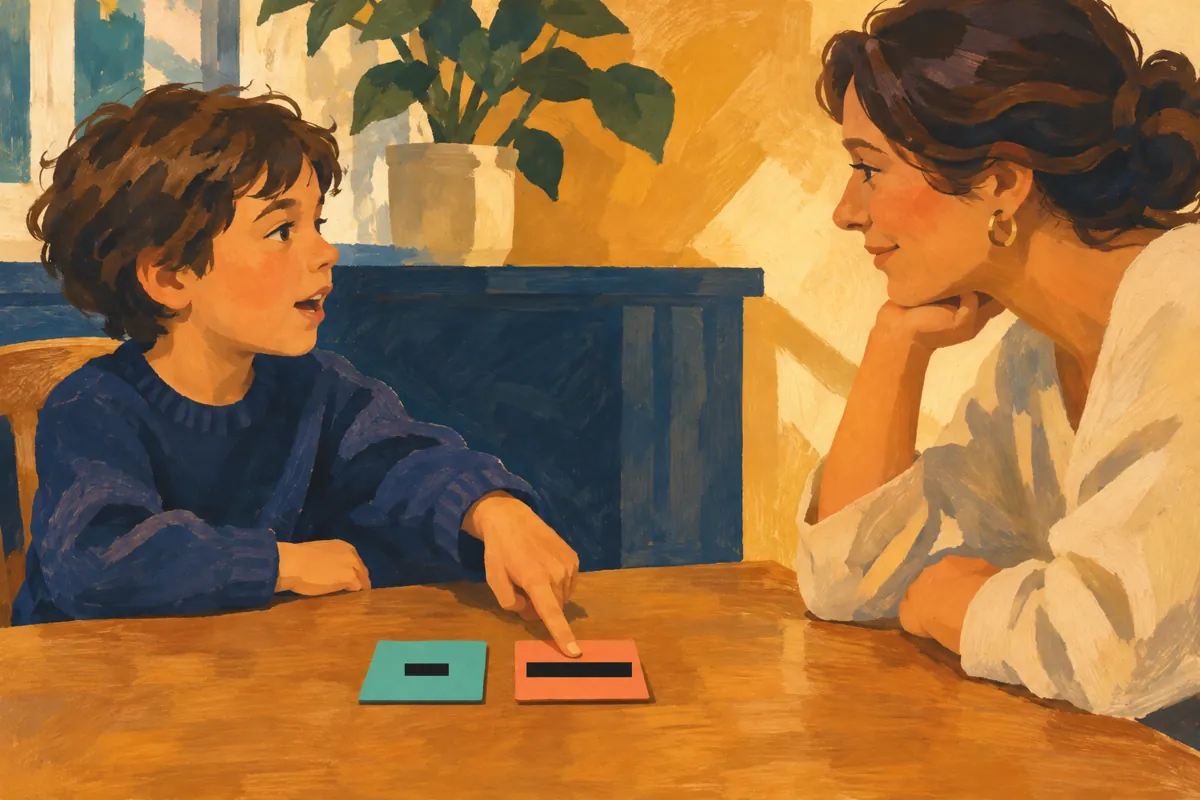
Start at the middle mark. Ask the child to spot the left and right edges of the shadow at about the same height each time. Tape a strip across the screen and mark those edges on it, then take the strip down. Do the same at the other marks. Away from the screen, fold the unused ends under or trim them so the length of each strip represents the width of one shadow. Record which position each strip came from by putting it beside a matching picture or adding a short label.
If the child wants numbers, measure between the two marks on each strip and note the width in centimetres. If an edge is fuzzy, agree together where to mark it and use the same rule next time. It’s fine to talk about an approximate width. If you can’t see both edges of the shadow, move the closest stop farther from the torch and try again before recording.
For children who prefer to use touch, the finished strips can be stacked against a shared starting edge and compared by feel. Describe what happened as it happens: “The block is now at the mark closest to the torch. The shadow reaches past the last mark on the screen.” If useful, make the stops tactile with different textures and keep those same textures beside the finished strips. Now the child can match the results to the positions without relying on colour.
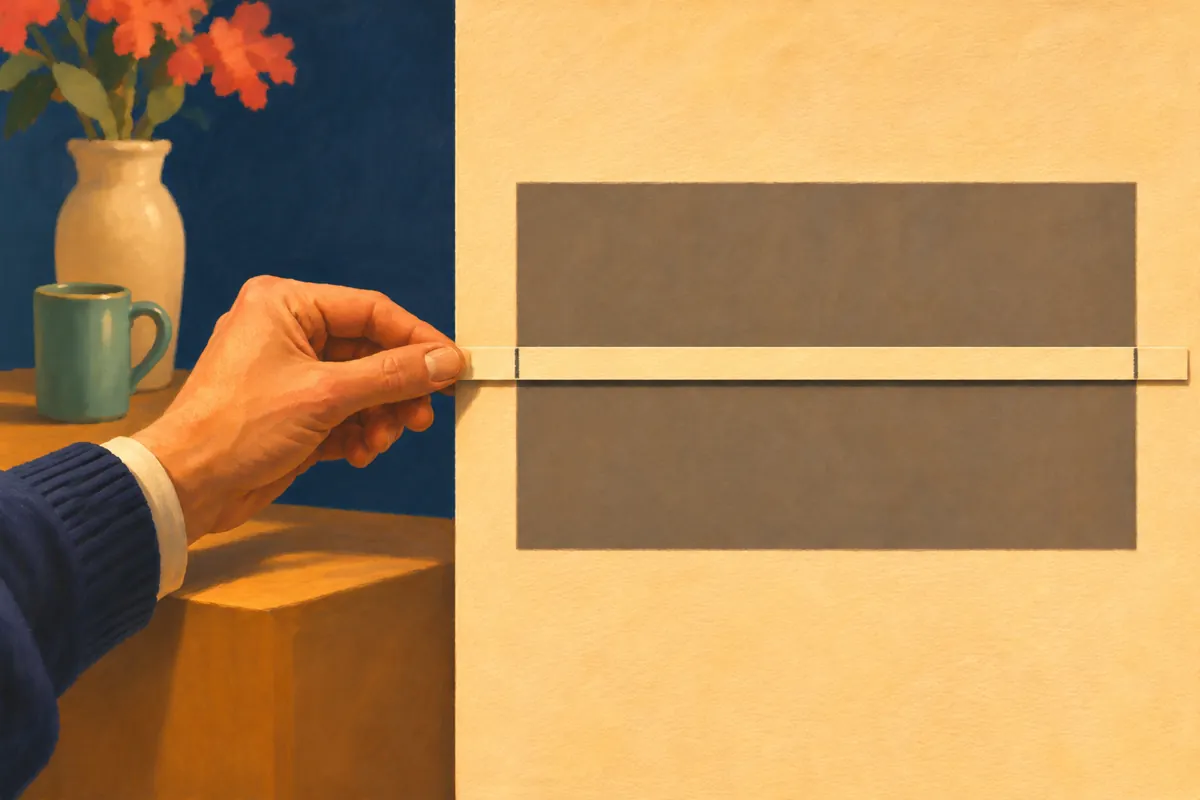
4. Find the pattern and explain what changed
Lay the strips next to one another with their starting edges in line. Which strip is longest? Which block position produced that wider shadow? Put the block back in the first position and see if the original shadow comes back. If it doesn’t, check whether the torch shifted, the screen bent or the block turned. That’s a chance to talk about what makes the comparison trustworthy.
With the torch and screen fixed as described here, the block generally casts a wider shadow when it moves closer to the torch. The block intercepts light that would otherwise spread across a wider part of the screen. When it moves nearer the screen, the shadow is closer to the block’s own width. You can say: “The block stayed the same size. It got closer to the torch and blocked the light from reaching a wider part of the card.”
Check the idea with a new question: “Could we get the first shadow back without changing the block?” Let the child show you where it goes. If they explain it by pointing and moving the block, ask someone else to say what they noticed, or offer a short sentence for the child to finish. One explanation of why the shadow changed tells you more than a table of copied numbers on its own.
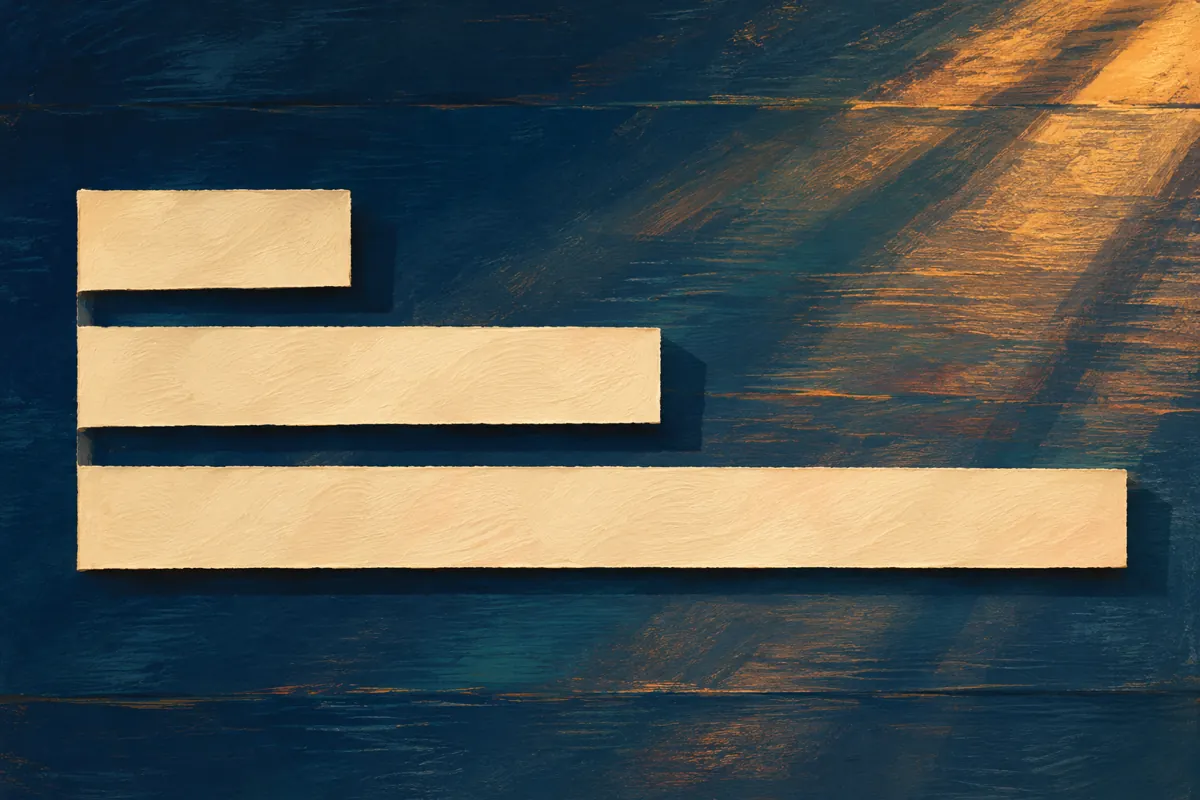
If the group says “the shadow grew because the torch got brighter”, return to the first two positions and repeat the comparison without touching the torch. Ask the child to show which thing moved. You can write their explanation beside the strips, or let them tell it back in their own words the next day.
What if the shadow is hard to see?
Start with one torch and a plain, matte screen. Move a desk lamp or second light source out of the way if it’s making the edges hard to see. Use a block with a simple outline and avoid the very closest position if the shadow becomes too blurred or wide for the screen. Take a break if the light is uncomfortable. An adult can demonstrate once, then use the finished strips to talk through the result together in normal room light.
If there’s time for another go, ask the child to design a second test: “Could we change the shadow by moving only the screen?” Reset the block and torch to stable positions before trying that question. Keep the results separate so everyone can tell which test involved a moving block and which involved a moving screen.
Try a next step with a light and shadows book
For older primary pupils ready to build on this idea, take a look at the public preview of The Lighthouse Code, Hewston Higgins’ Year 6 light and shadows activity book. You can also open the first sample page at full size. The tabletop experiment above is a separate supplementary activity. For another investigation using everyday materials, try our sink or float activity.